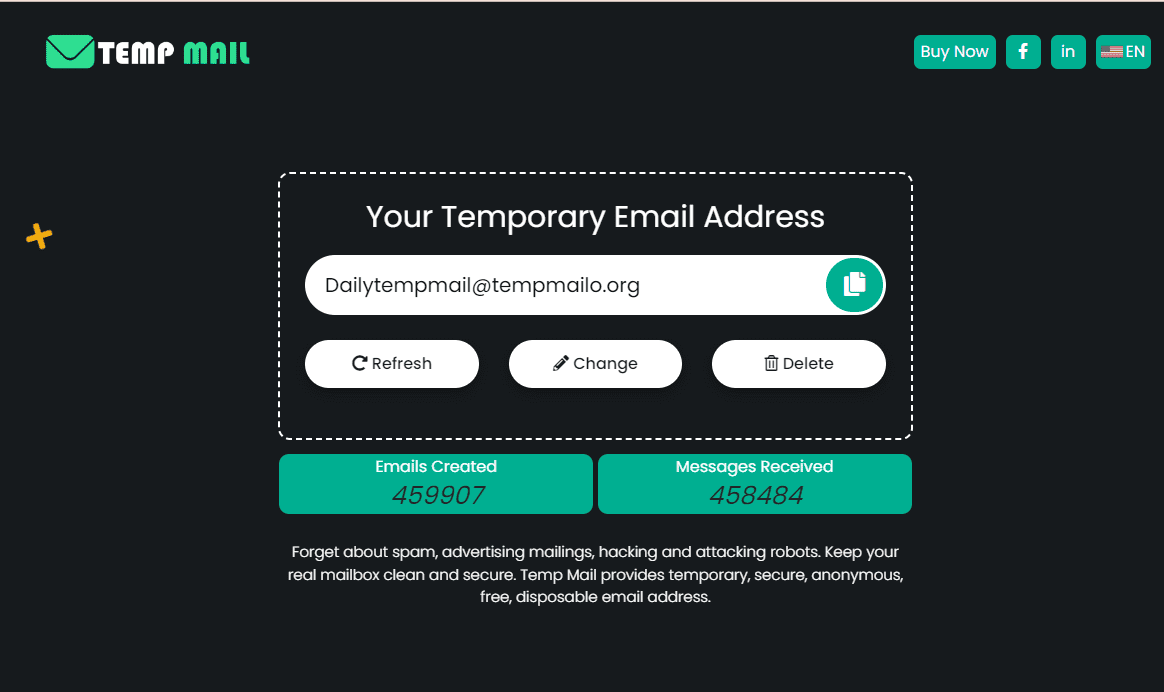
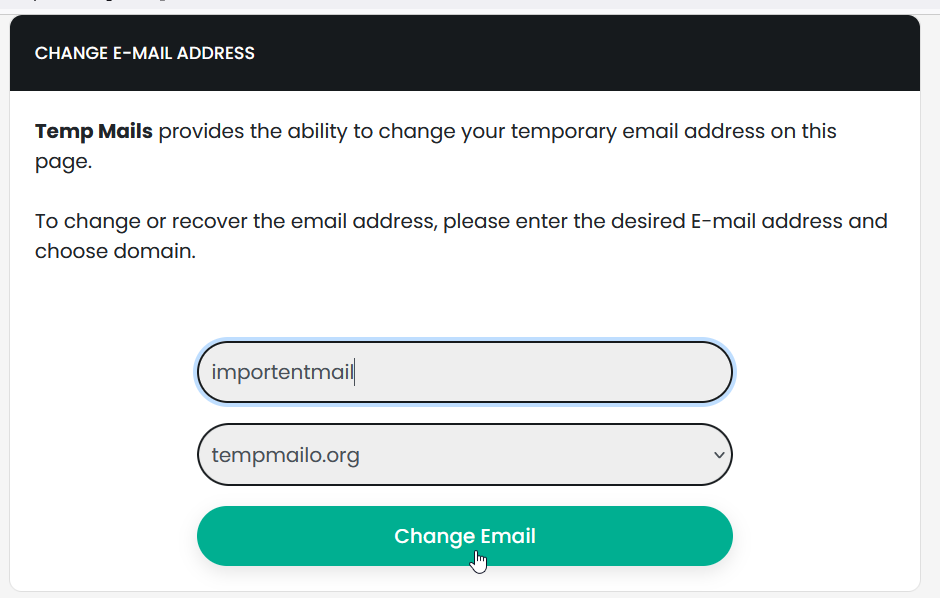
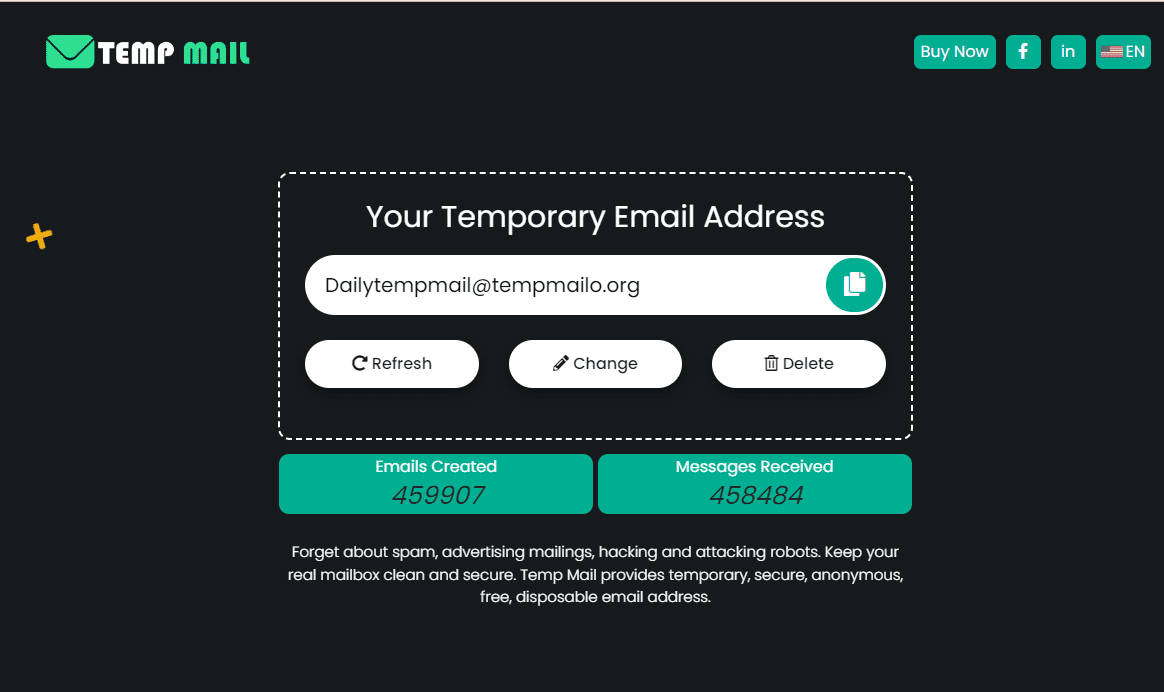
In today’s digital world, having a dedicated email address is essential. An email creator simplifies this process by allowing you to set up a new email address quickly and easily. Whether you need an email for personal use, professional correspondence, or to manage different aspects of your online life, an email creator tool can help streamline the process. With just a few clicks, you can create an email address that fits your needs and start managing your communications efficiently.
What Is an Email Creator?
An email creator is a tool designed to help you set up new email addresses. These tools come in various forms, including web-based services and standalone applications. They simplify the process of creating an email account by guiding you through the setup steps and offering features to customize your address.
Types of Email Creators:
- Web-Based Email Creators: These are online platforms like Gmail, Outlook, and Yahoo Mail. They provide user-friendly interfaces and additional features like spam protection and integration with other services.
- Custom Domain Email Creators: These tools allow you to create email addresses with your own domain name, such as [email protected]. They are often used by businesses for a professional appearance and enhanced control over email management.
- App-Based Email Creators: Some email creator tools are available as downloadable apps, offering the convenience of creating and managing email addresses directly from your device.
Benefits of Using an Email Creator
1. Easy Setup and User-Friendly Interface
An email creator simplifies the process of setting up a new email address. With clear instructions and intuitive design, you can quickly create an account without needing technical expertise.
2. Customization Options
Many email creators offer the ability to customize your email address. You can choose from various domain names or email aliases, making it easier to select an address that suits your personal or business needs.
3. Enhanced Security Features
Email creators often come with built-in security features. These may include strong password requirements, two-factor authentication, and encryption, helping to keep your communications safe from unauthorized access.
4. Privacy Controls
Using an email creator can provide greater control over your privacy. Many tools offer options to manage who can contact you, block unwanted emails, and protect your personal information.
5. Integration with Other Services
Many email creators integrate seamlessly with other tools and services, such as calendars, cloud storage, and productivity apps. This integration helps streamline your workflow and keeps all your communications and schedules in one place.
6. Professional Appearance
For businesses, using an email creator to set up custom domain addresses (e.g., [email protected]) enhances your professional image. It adds credibility and helps ensure consistent branding in your communications.
7. Improved Organization
Email creators often include features like folders, labels, and filters to help organize your inbox. These tools make it easier to manage and find your emails, reducing clutter and improving productivity.
How to Choose the Right Email Creator
1. Consider Your Needs
Think about what you need from an email creator. Are you looking for a simple personal email address, or do you need a professional setup with a custom domain? Understanding your requirements will help you choose the best tool.
2. Evaluate Key Features
Look for features that matter most to you:
- Ease of Use: Choose a tool with an intuitive interface that you find easy to navigate.
- Customization Options: Check if you can personalize your email address and domain.
- Security Features: Ensure the tool offers robust security measures, such as two-factor authentication and encryption.
3. Check Integration Options
Consider how well the email creator integrates with other tools you use, like calendars, productivity apps, and cloud storage. Good integration can streamline your workflow and improve efficiency.
4. Compare Free vs. Paid Options
Decide if you need a free tool or if you’re willing to pay for premium features. Free tools often offer basic functionalities, while paid options may provide advanced features and better support.
5. Look for Customer Support
Good customer support can be crucial, especially if you encounter issues. Check if the email creator offers reliable support channels, such as live chat, email support, or a knowledge base.
6. Read Reviews and Ratings
Research user reviews and ratings to gauge the reliability and performance of the email creator. Feedback from other users can provide insights into the tool’s strengths and potential drawbacks.
7. Test the Tool
If possible, try out the email creator before committing. Many services offer free trials or demo versions, allowing you to test the features and see if it meets your needs.
Step-by-Step Guide to Creating an Email Address
Step 1: Choose an Email Creator Tool
Select an email creator tool that suits your needs. Popular options include Gmail, Outlook, and Yahoo Mail for general use, or custom domain services for a professional touch.
Step 2: Sign Up for an Account
- Visit the Website: Go to the email creator’s website.
- Click on “Sign Up” or “Create Account”: Look for a button or link to start the registration process.
- Fill Out the Form: Enter your personal details, such as your name, desired email address, and password.
Step 3: Customize Your Email Address
- Choose a Username: Pick a unique and easy-to-remember username. If you’re using a custom domain, you can create an email address like [email protected].
- Set Up a Domain (Optional): For custom domain emails, follow the instructions to link your domain to the email service.
Step 4: Set Up Security Features
- Create a Strong Password: Use a mix of letters, numbers, and symbols for a secure password.
- Enable Two-Factor Authentication: Add an extra layer of security by setting up two-factor authentication, if available.
- Add Recovery Information: Provide a recovery email or phone number to help you regain access if you forget your password.
Step 5: Test Your New Email Address
- Send a Test Email: Send a test email to yourself to ensure everything is working correctly.
- Check Incoming Emails: Make sure you can receive emails without issues.
Step 6: Set Up Additional Features
- Organize Your Inbox: Create folders or labels to manage your emails.
- Set Up Filters: Use filters to automatically sort incoming messages and reduce clutter.
Step 7: Review and Finalize
- Review Settings: Check your email settings to make sure everything is configured to your preference.
- Explore Additional Features: Familiarize yourself with other features, such as calendar integration or email signatures, to get the most out of your email account.
Tips for Managing Your Email Address
1. Organize Your Inbox
- Use Folders and Labels: Create folders and labels to categorize emails by topic, sender, or project. This helps keep your inbox organized and makes it easier to find important messages.
- Archive Old Emails: Move older emails to an archive folder to keep your inbox clutter-free while still retaining important information.
2. Set Up Filters and Rules
- Automate Email Sorting: Create filters to automatically sort incoming emails into specific folders based on criteria like sender or keywords. This can help you manage high volumes of email more effectively.
- Block Unwanted Emails: Use spam filters and block addresses that send unwanted or junk mail.
3. Regularly Check and Clean Your Inbox
- Perform Regular Cleanups: Set aside time to review and delete unnecessary emails. Regular cleanups prevent your inbox from becoming overwhelming.
- Unsubscribe from Unwanted Newsletters: If you receive newsletters or updates you no longer find useful, use the unsubscribe link to stop receiving them.
4. Use Email Signatures
- Create a Professional Signature: Set up an email signature with your contact information, job title, and company name. This adds a professional touch to your correspondence.
- Customize for Different Contexts: Consider creating different signatures for personal and professional use.
5. Manage Email Notifications
- Adjust Notification Settings: Customize your email notification settings to avoid being overwhelmed by alerts. Choose which emails trigger notifications and how you receive them.
- Use Do Not Disturb Mode: When focusing on tasks, turn off email notifications to minimize distractions.
6. Keep Your Password Secure
- Use Strong, Unique Passwords: Ensure your password is strong and unique to protect your email account from unauthorized access.
- Change Passwords Regularly: Update your password periodically and avoid reusing passwords across multiple accounts.
7. Backup Important Emails
- Save Important Emails: Regularly back up important emails to a secure location. Some email services offer built-in options for exporting or saving emails.
- Use Cloud Storage: Consider using cloud storage services to keep copies of crucial emails and attachments.
8. Review Account Security Settings
- Enable Two-Factor Authentication: Add an extra layer of security by enabling two-factor authentication if available.
- Update Security Questions: Ensure your security questions and recovery options are up-to-date and secure.
Conclusion
Choosing and managing an email address is a straightforward yet crucial task for personal and professional communication. By using an email creator, you simplify the setup process and gain access to features that enhance organization and security. Whether you need a basic email for personal use or a custom address for business, selecting the right tool and managing it effectively will help you stay connected and organized.
Regularly maintaining your email account, utilizing features like filters and folders, and keeping your security settings updated will ensure a smooth and efficient email experience. With these practices, you can manage your emails effectively and focus on what matters most.
